1. Review your Purchase

Please make sure to check your mails after purchasing a PREACE Preset Pack.
You should have received 1) an order confirmation mail and 2) a separate mail containing a download link.

Note: If you cannot find it, please make sure to also check other mail folders like „Spam“ or simply search for „PREACE“ in your mail search bar.

2. Add presets to your Phone Files

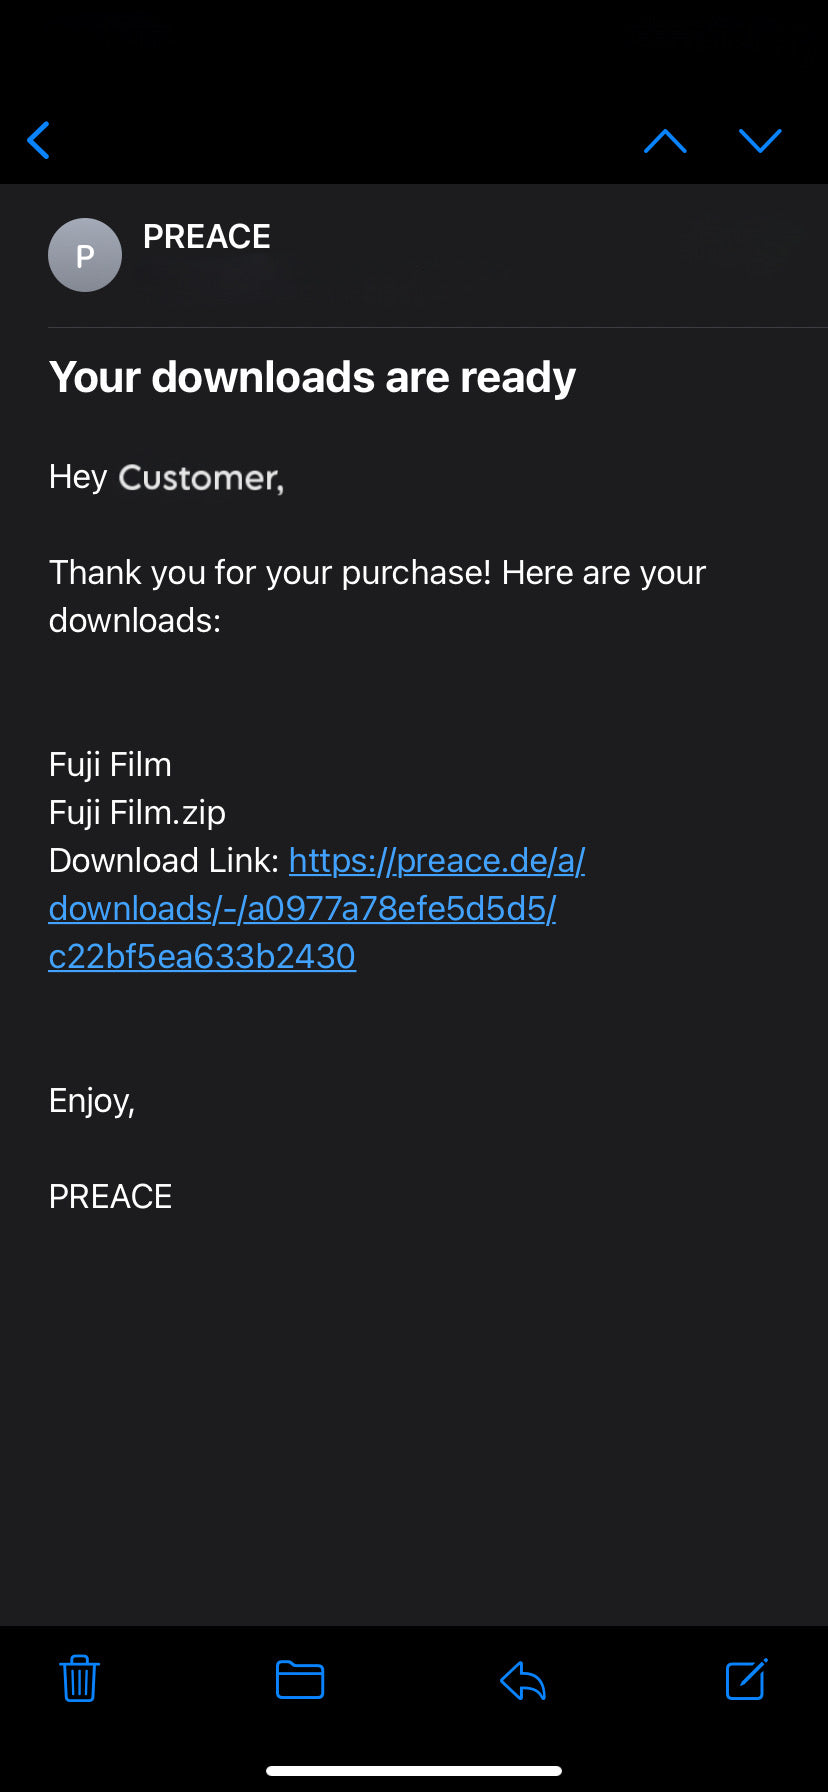
When opening the download mail, please click on the link and you’ll get redirected to the PREACE website with an overview of your purchase.

Press the button „Download Now“ and confirm it by pressing „Download“ again. Then, wait for the download to be finalised. Press the little downwards arrow icon, on the left side of your search bar of your web browser, in order to get to your browser downloads overview. Please click on the preset and it will automatically get transferred onto your phone in „Files“ as a compressed file (zip).

The zip file contains all 5 presets of the bought PREACE Preset Pack. Finally, click the zip file so it will uncompress and will present your final PREACE Preset folder next to it. By opening up the Preset Pack folder, you’ll find your 5 presets that need to be transferred into the Lightroom Mobile App. (Next step)

3. Download the LR Preset App

Open your Application Store (App Store) and search for „Lightroom Photo & Video Editor“. Download the App for free and sign up in order to create your own Lightroom Account. You’ll find different categories to explore but for the PREACE Presets you’ll only need the „Library“ and its option to create albums (+).

4. Create an album for the PREACE Presets

In order to transfer the PREACE Preset files to your Lightroom App, you need to create an album first. Please click the + symbol right next to „Albums“. Choose „Album“ and name it (i.e. PREACE Presets). Confirm with „OK“ and enter the newly created album, which is empty for now.

5. Add the preset files to your album in the Lightroom App

After entering the newly created album, please make sure to click on the blue button in the bottom right corner of your library. (icon: image with a +) In order to add the Preset files, choose the option „From Files“ and select all 5 presets of your bought Presets Pack.

Note: If you bought multiple Preset Packs, please make sure to transfer them pack by pack. Finalise the entire process for one pack and continue with the next afterwards.

Your PREACE Presets now got transferred into your Lightroom album. To make them usable on your images, you need to save them as a „Preset“. (Next Step)

6. Save and organise your PREACE Presets in the Lightroom App

Please click on the first image that got transferred to your Lightroom album. This image will be put into Editing Mode with lots of options to choose from.

  1. Click on the three dots (…) in the upper right corner.
  2. Choose the option „Create Preset“.
  3. Create a new Preset Group by choosing „Create New Preset Group“ after clicking on „Preset Group“.
  4. Name the Preset Group (i.e. Fuji Film if you bought only 1 Preset Pack or i.e. PREACE if you bought multiple Preset Packs that will be transferred to this group).
  5. Name the Preset. The first image should be PRESET NAME 1, followed by PRESET NAME 2,…3,…4,…5.

Note: Make sure to choose the same Preset Group in which you save the presets if you ever created others before.

7. Create an album for your images

Go back to your Library in the Lightroom App and click the + in order to create a new album. This will be the album where you’ll find your own images, which you want to upgrade with the PREACE Presets. You can name it i.e. „My Photos“. Now, when you clicked on that album, press the blue button in the bottom right corner again (icon: image with +) and now choose the option „From Camera Roll“. Choose your images, that you want to edit, by clicking on them and finalise by pressing „Done“. The images will get transferred to the Lightroom App.

Note: Sometimes you‘ll also need to click the images again and press „Add“ in order to really add them to your album.

Your album should now be filled with your desired images.

8. How to use the Presets on your images

Choose one of your images so it will automatically be put into Edit Mode. Simply click on the option „Presets“ and search for your created Preset Group name (i.e. PREACE or Fuji Film). Now you can choose between the 5 downloaded Presets. Use the preset you like most on your image, done!

9. Optional: Individual adjustments

If you feel like some images need some individual adjustments in order to fit in, you can always click on the categories „Light“ and „Color“ and play around a bit. The setting can depend on the brightness and colours found in the original image.

10. Save finished image to your camera roll

When you’re done with your image, you need to save it so you can find and upload it to Social Media from your Camera Roll. To do so, click on the share icon (a box with an upwards arrow on it) in the upper right corner. Finally, choose the option „Save to Camera Roll“ and it will automatically get transferred.

Note. You can also change the image quality and the file type if you need to. Just choose the option „Export as…“ instead of saving it to the Camera Roll right away.

Voilà, have fun with your beautiful photos!